Step-by-Step Guide to Installing AC Vents for Maximum Airflow Efficiency

Installing air conditioning (AC) vents in your ceiling is crucial for ensuring efficient air distribution throughout your home. Proper planning and execution are essential for optimal airflow and system performance. Follow these steps to achieve maximum airflow efficiency during your installation process.
Step-by-Step Installation Process
- Identify Vent Locations: Use a tape measure and level to mark the desired locations for each vent on the ceiling.
- Cut Ceiling Holes: Employ a drill or hole saw to create holes in the ceiling according to the sizes of the vents.
- Connect Ductwork: If ductwork isn't already in place, attach it to the AC unit and run it to the marked vent locations.
- Insert Vents: Place each vent into its corresponding hole, ensuring a snug fit and that they are level.
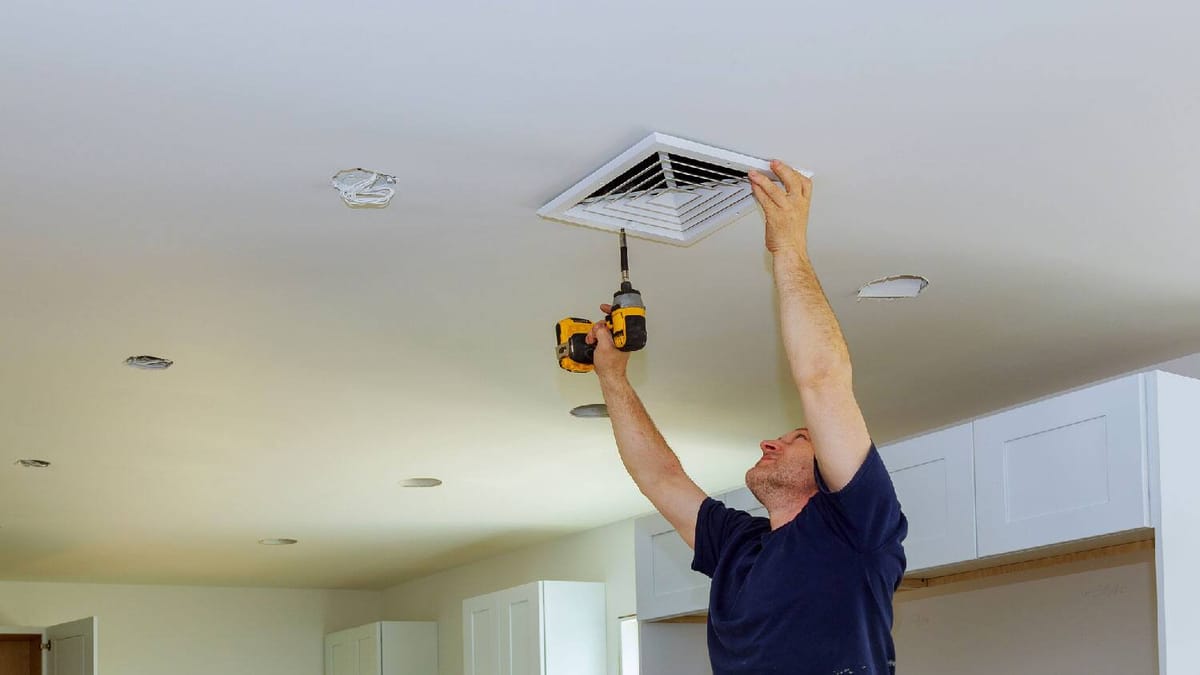
- Secure Vents: Use screws or nails to firmly secure the vents to the ceiling, taking care not to overtighten.
- Seal Joints: Apply HVAC tape around all connections in the ductwork and the edges of the vents to prevent air leaks.
- Test the System: After installation, turn on the AC unit to check for proper airflow from each vent. Adjust the vent dampers as needed to balance airflow throughout the space.
Planning and Preparation
Before starting the installation, careful planning is necessary. Identify the best locations for the vents, considering the room layout, furniture placement, and areas that require the most cooling. Determine the number of vents needed and their sizes, ensuring that the ceiling has adequate space for both the vents and ductwork.
Materials and Tools Needed
Gather the following materials for the installation:
- Ceiling vents
- Ductwork (if not previously installed)
- HVAC tape
- Screws or nails Essential tools include:
- Drill or screwdriver
- Tape measure
- Level
- Tin snips (for adjusting ductwork) These materials and tools will help ensure a smooth installation process.
Troubleshooting Tips
If you encounter issues during installation, consider the following:
- Poor or Uneven Airflow: Check for blockages or leaks in the ductwork and adjust vent dampers to balance airflow as needed.
- Noise from Vents: Inspect the ducts for loose connections or vibrations. Adding vibration dampeners can help reduce noise levels.
Maintenance for Optimal Airflow
To maintain maximum airflow efficiency after installation, regular cleaning and inspections are crucial. Keep vents clean and unobstructed by dust and debris, and schedule periodic inspections to check for any damage or blockages that could hinder airflow. Properly measuring and adjusting your AC vents can significantly improve air quality and eliminate uneven temperatures, resulting in a more comfortable living environment
By following this step-by-step guide, you can successfully install AC vents that optimize airflow efficiency and enhance comfort in your home. If you have any questions or require assistance, consulting a qualified HVAC technician is advisable.
